A Simple Guide to Fixing Wall Imperfections
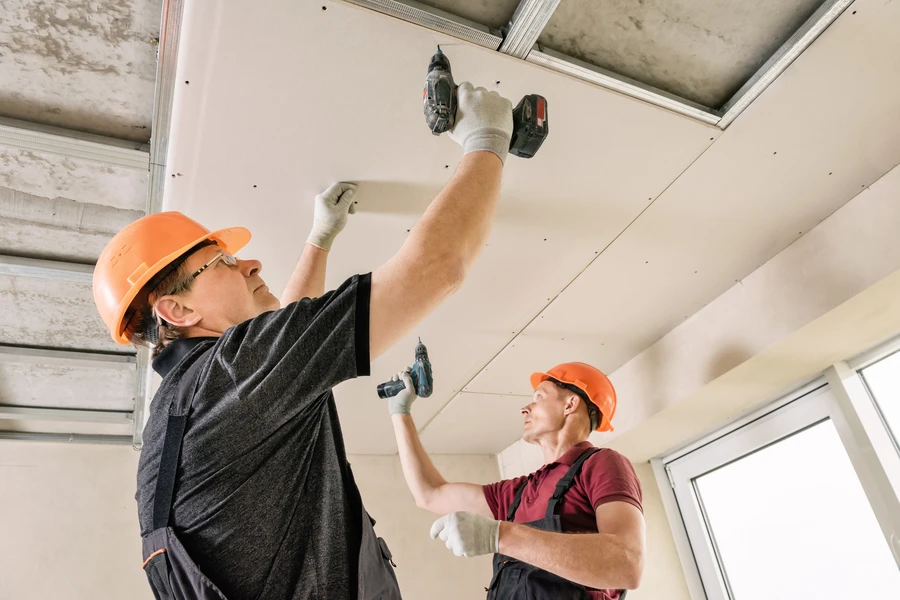
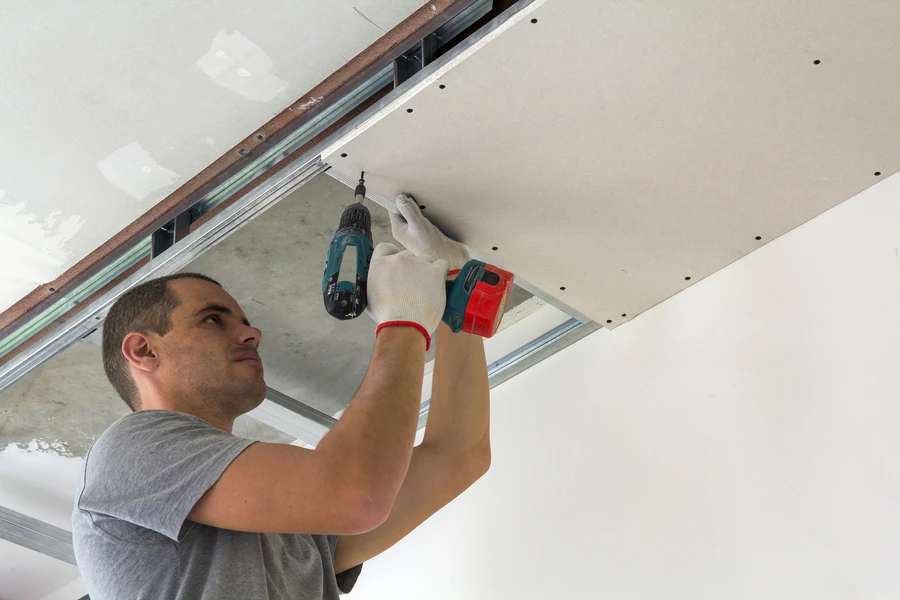
Patching holes in drywall might seem daunting, but with the right techniques, it can be a straightforward task. Whether it’s from moving furniture or accidental bumps, wall damage is common. The good news is that you don’t always need professional help to fix it. Learning how to patch these imperfections effectively not only saves money but also keeps your walls looking great. This guide will walk you through proven methods and tips, ensuring your patch jobs are smooth and durable.

Identifying the Right Tools
The first step in repairing drywall involves gathering the necessary tools. Depending on the size of the hole, your toolset may vary. For small holes, like those left by nails, you’ll need spackle and a putty knife. Larger damages require more robust solutions, such as mesh patches and joint compound. Having the right tools at hand makes the process smoother and helps achieve a seamless repair.
Preparing the Area
Before starting any drywall repair, it’s crucial to prepare the area properly. Clean the surrounding space to remove dust and debris. Ensuring a clean surface helps the repair materials adhere better, resulting in a long-lasting finish. If dealing with larger holes, consider using drywall tape or mesh to reinforce the patch. This step lays a solid foundation for effective repairs.

Understanding Drywall Repair Techniques
Tackling drywall repair requires understanding various techniques based on the size of the hole. For minor dings and dents, applying a small amount of spackle is often sufficient. Use a putty knife to spread it smoothly across the affected area. When addressing larger holes, after prepping with tape or mesh, apply joint compound over several layers. Each layer should dry before adding another, building up a seamless finish.
Sanding for a Smooth Finish
Sanding is an essential part of achieving a smooth finish on patched areas. Once the joint compound has dried completely, use fine-grit sandpaper to even out the surface. Sand gently to avoid damaging surrounding areas and always wear a mask to protect from dust particles. Proper sanding prepares the wall for painting and ensures an invisible repair.
Painting Over Repairs
After successfully repairing drywall and smoothing the surface, it’s time to paint. Ensure the patched area matches the rest of the wall by using primer first. Primer helps paint adhere better and prevents uneven color tones. Once primed, apply paint in thin coats until the color blends seamlessly with the existing wall. This final touch enhances aesthetics and hides any signs of repair work.
Avoiding Common Mistakes
Even simple drywall repairs can go awry if common mistakes are made. Avoid applying too much joint compound as it leads to uneven drying and cracking. Always ensure each layer dries completely before sanding or adding more material. Skipping these steps can result in visible imperfections that are hard to hide later.
Benefits of DIY Drywall Repair
Taking on drywall repair yourself offers numerous benefits. It saves cost on hiring professionals and allows greater control over the quality of work done in your home. Additionally, learning this skill increases confidence in handling other DIY projects around the house. The satisfaction of completing a repair successfully cannot be overstated.
Get Professional Results With DIY Methods
By following these techniques for patching holes in drywall effectively, you can achieve professional results without needing extensive experience or costly tools. Mastering these skills gives homeowners flexibility and capability in maintaining their spaces beautifully. At FH Construction LLC in Birmingham Alabama 35212, we offer guidance and support for all your DIY needs. Based in Birmingham, AL, our team delivers expert advice tailored to your project demands. Contact us today at (659) 232-7629 to learn more about enhancing your home maintenance skills.